
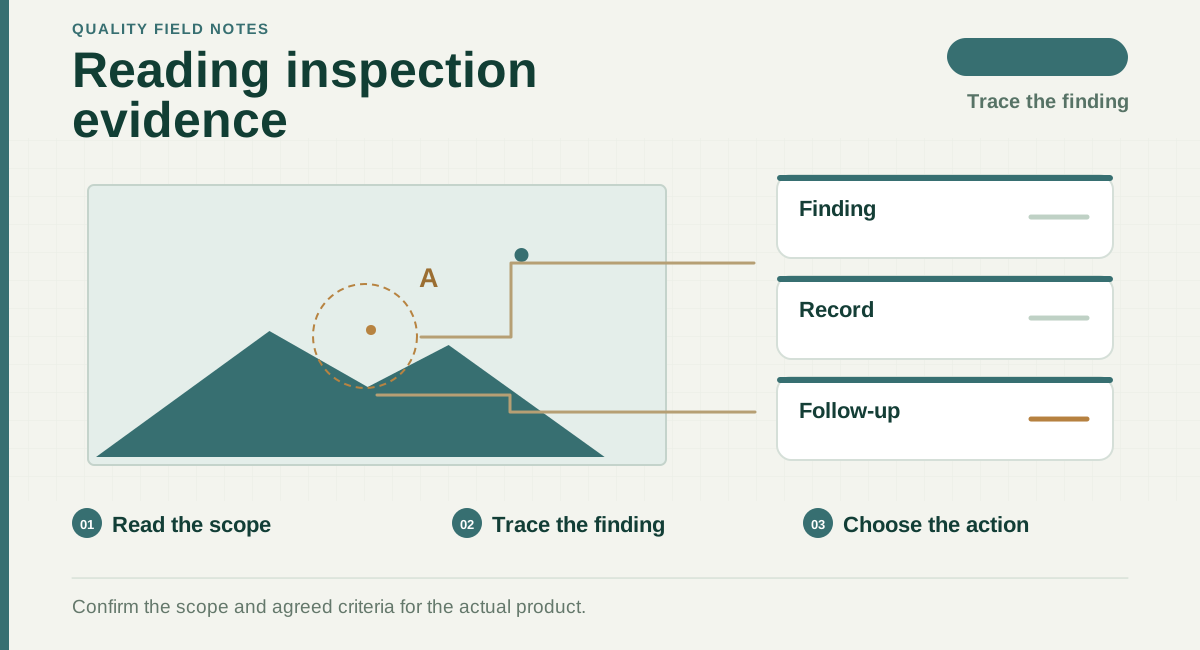
Read the diagram
- Read the scope
Start with inspection conditions, scope and limitations.
- Trace the finding
Connect the description, location, sample and supporting record.
- Choose the action
Assess the evidence and clarify what needs action.
This article explains how to record defect photos. Illustrations are schematics, not a downloadable library of real defect photographs.
Show the context and the detail
Keep an overview, the defect location and a clear close-up. When documenting dimensions, record the tool, unit and method. An annotation should not obscure the defect.
Connect photos with the records
Associate each photograph with the model, sample, check and observed count. If the photograph cannot support a claim clearly, obtain additional field records or evidence.
Confirm classification criteria first
Apply the confirmed product requirements, intended use, risk and client criteria. A photograph, defect name or generic size threshold alone does not establish the class.
Articles support understanding of quality risk, standards and service routes. Formal requirements depend on the product, target market and technical project confirmation.